
Table of Contents in Microsoft Word : Creating a Table of Contents (TOC) in Microsoft Word is one of the easiest ways to make your documents look professional and organized. Whether you’re writing a project report, thesis, research paper, eBook, business proposal, or company documentation, a Table of Contents helps readers navigate your document quickly.
The best part? Microsoft Word can generate the entire Table of Contents automatically and update it whenever your document changes.
In this guide, you’ll learn exactly how to create an automatic Table of Contents in Word and how to keep it updated with just a few clicks.
Why Use an Automatic Table of Contents in Word?
A manually created Table of Contents takes time to maintain. Every time you add a new heading or change page numbers, you’ll need to edit everything manually.
An automatic Table of Contents solves this problem by generating the contents based on your document’s headings.
Benefits include:
- Saves time
- Updates page numbers automatically
- Gives your document a professional appearance
- Makes navigation easier
- Perfect for long reports and documents
- Required in many academic and business documents
If you’re working with documents longer than a few pages, an automatic TOC is highly recommended.
Before You Create a Table of Contents
Before inserting a Table of Contents, make sure your document uses Word’s built-in Heading styles.
For example:
- Heading 1 for main chapters
- Heading 2 for subtopics
- Heading 3 for smaller sections
The Table of Contents is generated based on these heading styles.
If normal text is used instead of Heading styles, Word won’t include it in the Table of Contents.
How to Create a Table of Contents in Microsoft Word
Follow these simple steps.
Step 1: Open Your Word Document
Open the document where you want to insert the Table of Contents.
If possible, complete most of your document before generating the TOC.
Step 2: Place the Cursor
Click where you want the Table of Contents to appear.
Most users insert it:
- After the title page
- Before the introduction
- At the beginning of the document
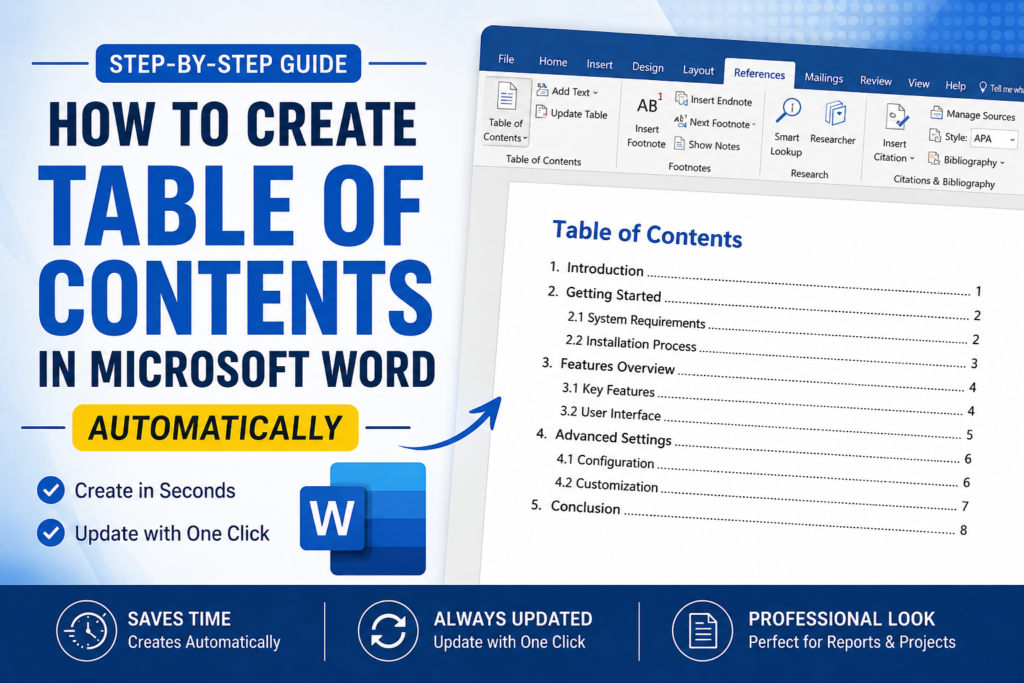
Step 3: Go to the References Tab
At the top ribbon in Microsoft Word, click the References tab.
This tab contains tools related to citations, footnotes, indexes, captions, and Table of Contents.
Step 4: Click Table of Contents
Inside the References tab, click Table of Contents.
Word will display several built-in templates.
The most commonly used option is:
Automatic Table 1
Click it once.
That’s it.
Word instantly generates your complete Table of Contents.
What Happens Automatically?
Word scans your document and finds every heading you’ve created.
It then automatically creates:
- Heading names
- Page numbers
- Hierarchy
- Proper formatting
- Clickable navigation (in digital documents)
Everything is done in seconds.
Example Structure
Suppose your document contains:
Heading 1
- Introduction
Heading 1
- Sales Report
Heading 2
Heading 2
- Quarterly Analysis
Heading 1
- Conclusion
Word automatically creates a neatly formatted Table of Contents showing each section with its corresponding page number.
How to Update the Table of Contents
One of the biggest advantages of using an automatic TOC is that you never need to recreate it.
Whenever you edit your document, simply update it.
When Should You Update It?
Update the TOC whenever you:
- Add a new heading
- Delete a section
- Rename headings
- Change page numbers
- Insert new pages
- Rearrange chapters
Steps to Update the Table of Contents
Updating takes only a few seconds.
Step 1
Right-click anywhere inside the Table of Contents.
Step 2
Click Update Field.
Step 3
You’ll see two options:
Update Page Numbers Only
Use this if only page numbers have changed.
Update Entire Table
Use this if you’ve added, removed, or renamed headings.
Choose Update Entire Table for most situations.
Word instantly refreshes the entire Table of Contents.
Why Isn’t My Heading Showing?
If a heading doesn’t appear, it’s usually because it wasn’t formatted using Word’s Heading styles.
To fix it:
- Select the heading.
- Go to the Home tab.
- Apply Heading 1, Heading 2, or Heading 3.
- Return to the Table of Contents.
- Update the table.
The missing heading will now appear.
Common Mistakes Beginners Make
Avoid these common errors:
Using Bold Instead of Heading Styles
Bold text is not recognized as a heading.
Always use Word’s built-in Heading styles.
Forgetting to Update the TOC
Many users edit the document but forget to update the Table of Contents.
Always update it before printing or sharing.
Creating the TOC Too Early
If your document is still changing, that’s perfectly fine.
Simply update the Table of Contents whenever changes are made.
Deleting the TOC Manually
If you want a different design, don’t edit it manually.
Instead, remove the existing TOC and insert a new automatic one.
Where Is an Automatic Table of Contents Used?
This feature is commonly used in:
- College assignments
- School projects
- Research papers
- Thesis documents
- Company reports
- Business proposals
- User manuals
- Standard operating procedures (SOPs)
- eBooks
- Technical documentation
Tips for a Professional Table of Contents
For the best results:
- Keep heading names short and descriptive.
- Use Heading 1 for major topics.
- Use Heading 2 for subtopics.
- Use Heading 3 only when necessary.
- Avoid skipping heading levels.
- Update the TOC before exporting to PDF.
- Review the formatting before printing.
These simple practices make your document easier to read and more professional.
Final Thoughts
Creating an automatic Table of Contents in Microsoft Word is one of the easiest ways to improve the quality of your documents. Instead of manually typing page numbers and headings, Word does all the work for you.
Even better, you can update the entire Table of Contents in just a few clicks whenever your document changes.
Whether you’re a student, office professional, researcher, or business user, learning this simple feature can save time and help you create polished, well-structured documents.
Once you start using an automatic Table of Contents, you’ll never want to create one manually again.
Frequently Asked Questions (FAQs)
How do I create an automatic Table of Contents in Word?
Go to the References tab, click Table of Contents, and choose Automatic Table 1. Word will generate the Table of Contents using your document’s heading styles.
Why is my Table of Contents not updating?
Right-click inside the Table of Contents, select Update Field, and choose Update Entire Table if you’ve added or changed headings.
Why are some headings missing from my Table of Contents?
Only text formatted with Word’s built-in Heading styles appears in the Table of Contents. Apply Heading 1, Heading 2, or Heading 3, then update the table.
Can I update only page numbers?
Yes. When updating the Table of Contents, choose Update Page Numbers Only if your headings haven’t changed.
Does the Table of Contents work in PDF files?
Yes. If you save your Word document as a PDF, the Table of Contents can retain clickable links depending on your export settings.
